Once you have logged in to webOS, please follow these steps.
- On the side menu, click Website, then click Content.
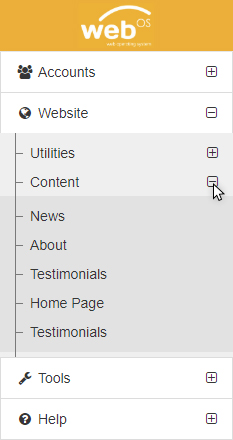
- Then click News (or Blog, depending on what you have on your website). This will open up your News window where you can view, edit, and add news/blog posts.
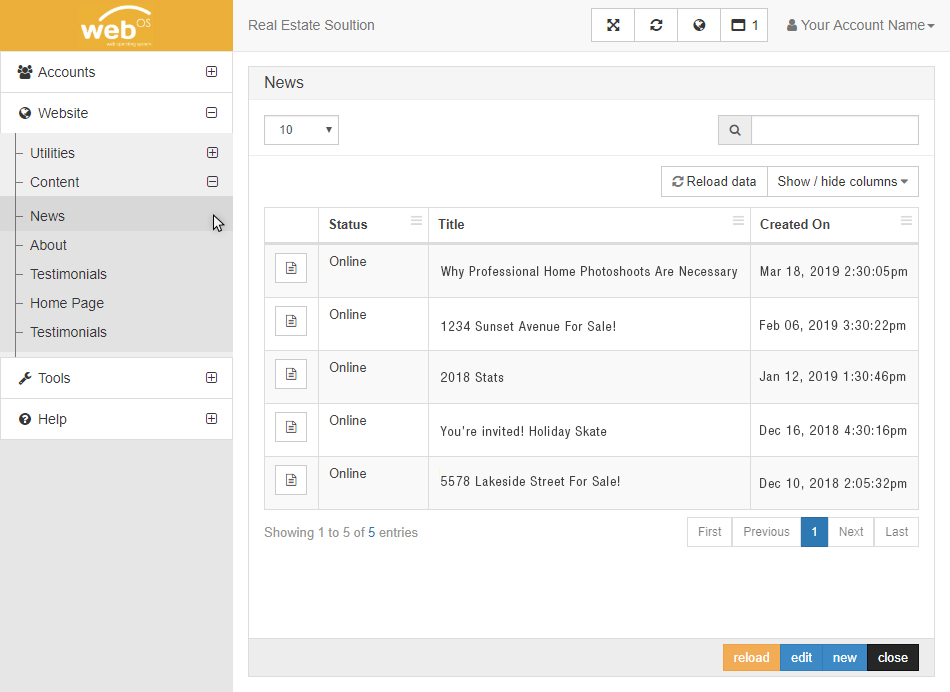
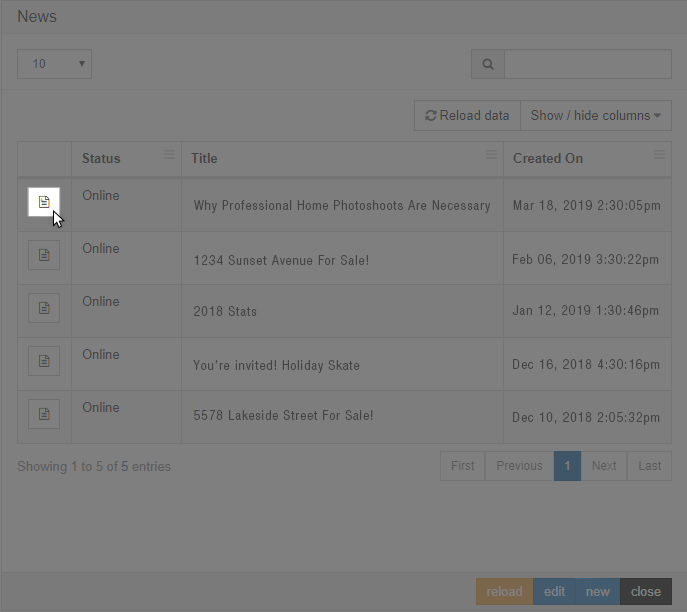
- To edit an existing news/blog post, click the document icon on the left
- This will open a window where you're able to edit your news/blog post. Once you have finished making changes, click update. To delete the post entirely, click remove.
- To create a new news/blog post, click new.

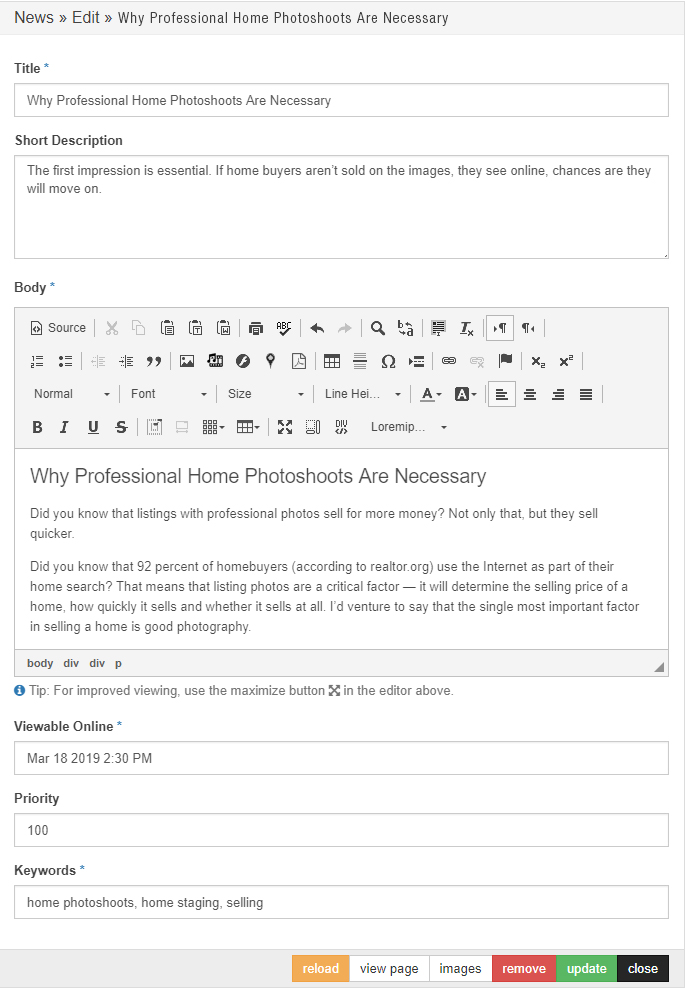
- This will open a new window where you're able to enter a new news/blog post.
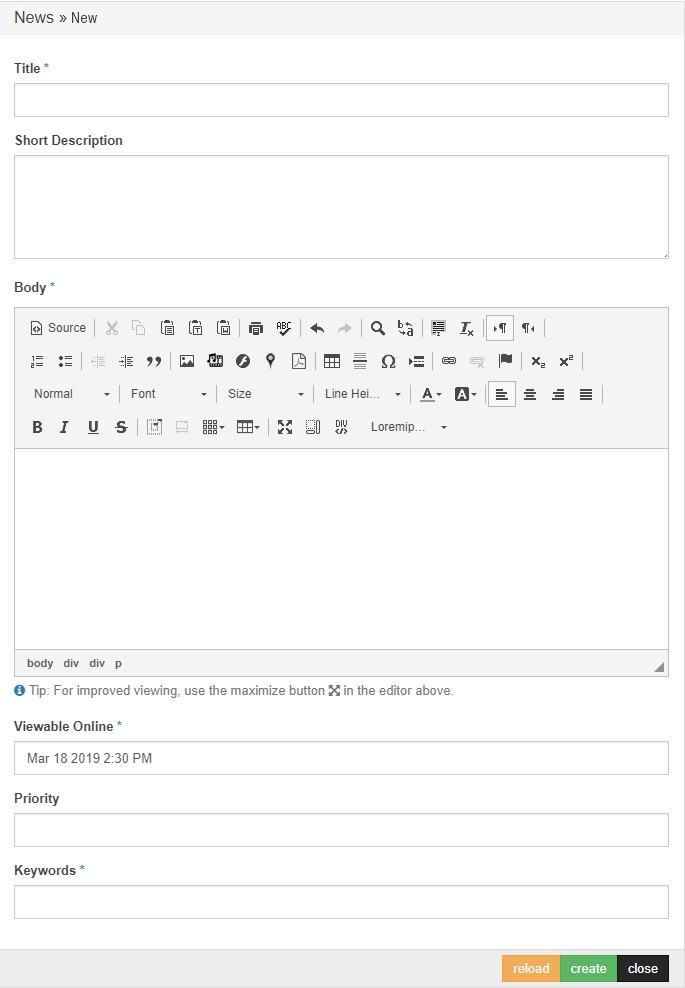
Title: Enter the title of your post here.
Short Description: This is the text that you will see below the post thumbnail, a preview of the post.
Body: Enter your content here. You can also insert images and links.
Viewable Online: You can schedule your posts and choose the date and time that the post will be live on your website.
Priority: This is an option tool that allows you set the order of your posts. Enter a number between 1 and 999999. The higher the number, the higher the priority.
Keywords: Enter keywords related to the post for easy search on the topic.
Don't forget to click create when you're finished.