To begin, first log in to webOS.
The content editor is the section where you're able to add content. Below you'll learn what each button does and how to add and edit content.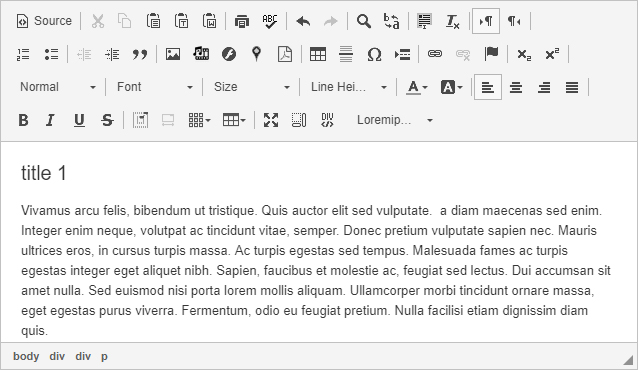
1. The Basic Functions of Editor
 Source: is an option that allows you to edit content using HTML coding
 Cut: removes the selected text, and places it on a clipboard, allowing you to paste it somewhere else
 Copy: copies the selected text from the editor to a clipboard
 Paste: duplicates the selected text from the clipboard
 Paste as Plain Text: duplicates the selected text that you have copied, and pastes it without formatting
 Paste from Word: duplicates the selected text that you have copied from Word, and pastes it without formatting
 Print: prints all of the content inside of the editor
 Spellcheck: checks for any errors in spelling contained in the editor
 Undo: reverses your previous action performed in editor
 Redo: reverses the last undo
 Find: allows for a word search contained in the editor
 Replace: allows you to find a word from the editor, and replace with another word
 Select All: select all text in the editor at once
 Remove Format: removes formatting from the selected text, and sets it to the default styling
 Text Direction: change direction of text from the left or right
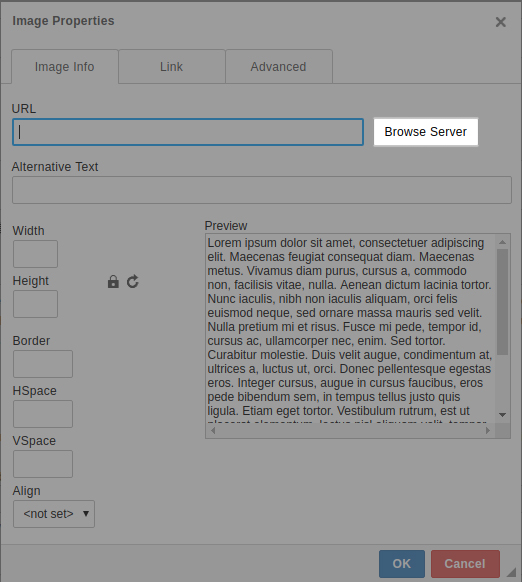
2. Insert An image
You can upload a file to the file manager first, or follow the steps below.


To make your image responsive, click the Advanced tab, then under Stylesheet Classes, add the text “Img-responsive”.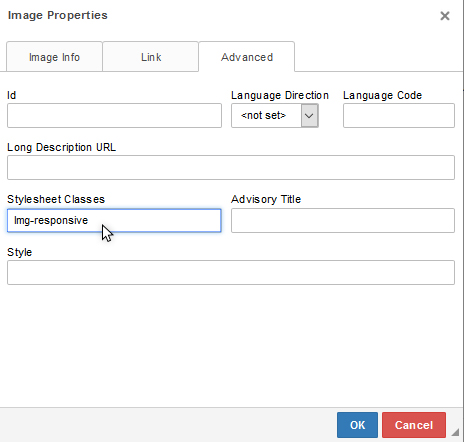
Click Ok.
3. Embed media from external sites
This allows you to embed a video from another source, such as YouTube. Follow the steps below.


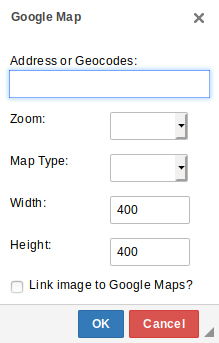
4. Insert Google Map
This allows you to insert an address from Google Maps, which will create a link to the actual location on Google Maps. Follow the steps below.

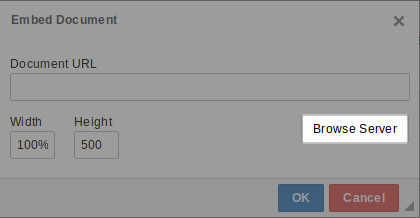
5. Embed a document
This allows you to insert a PDF document. Follow the steps below.

6. Insert a horizontal line
This inserts a line divider. Please note you cannot change the colour of the divider.

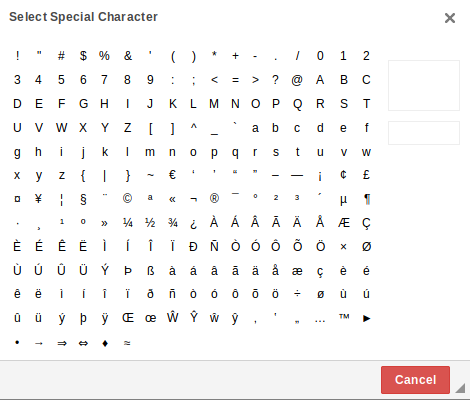
7. Insert a special character
This inserts a special character that may not be available on a keyboard. Follow the steps bellow.

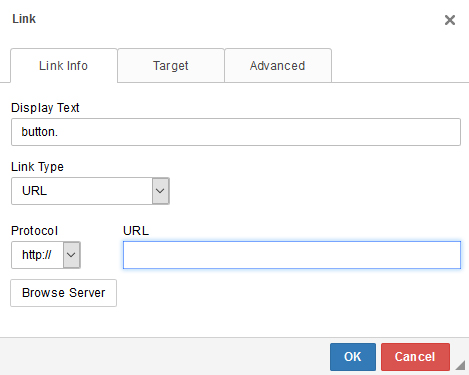
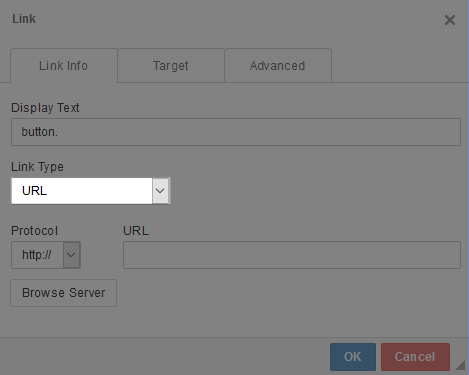
8. Insert a link
This inserts a hyperlink on the selected highlighted word. Follow the steps below.


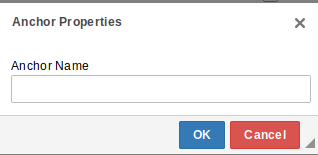
9. Insert an anchor.
This links to an anchor previously created in the editor. Follow the steps below.

10. Formatting Text in Editor
 Subscript: Will set the character, symbol or number slightly below the normal line of text
 Superscript: Will set the character, symbol or number slightly above the normal line of text
 Paragraph Format: Changes the formatting of the text to different styling options
 Font: Select from a list of different fonts
 Size: Changes the size of the text
 Line Height: changes the line height of the selected text
 Text Colour: changes the colour of the selected text
 Background Colour: adds a coloured/highlighted background to the selected text
 Align Left: aligns text to the left
 Centre: centres text horizontally between two margins
 Align Right: aligns text to the right
 Justify: gives straight edges on both sides of text
 Bold: adds a bold styling to the selected text
 Italic: adds italicized styling the selected text
 Underline: adds an underline to the selected text
 Strike Through: adds a strike through to the selected text
12. Other Tools
 Insert a Bootsrap Template: This allows you to insert a predefined template. This template is responsive and allows you to add media or text side-by-side by inserting invisible columns/rows.
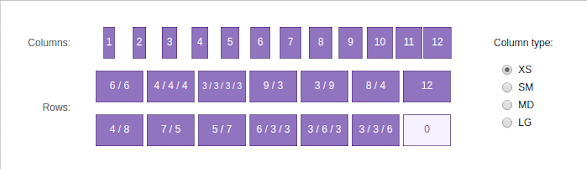
 Insert a Bootstrap Table: This allows you to insert a responsive table into the editor. You can select in the drop-down how many columns and rows your table needs. Additional table options are displayed on the right.
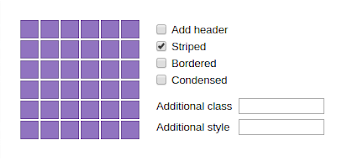
 Maximize: Makes the editing box full screen
 LoremIpsum: inserts placeholder text to the editor (useful for testing purposes)
Visit our FAQs page or fill our our contact form for more support.
